Recharge-hosted checkout
The Recharge-hosted Checkout presents an interface allowing you to process checkouts that will sync into the Recharge system and is the recommended checkout method when using Recharge's API integration. This article covers using Recharge's hosted checkout with your custom integration. Create a checkout experience for customers directing to Recharge’s hosted checkout by using Recharge’s Checkouts resource.
Platform:
- Custom
1. Create the Checkout object
There are two main steps to process checkouts via the Recharge-Hosted Checkout.
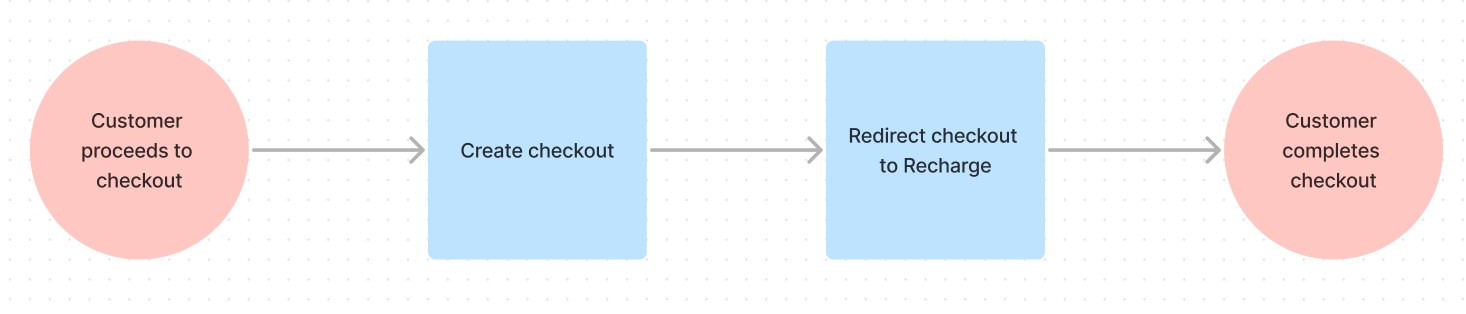
When a user clicks the checkout button on the storefront (or any action that triggers the checkout process is taken), you will call your middleware to build the checkout object.
POST your cart contents (or custom-built line items) to the Recharge checkout endpoint, along with any miscellaneous properties (ei. utm parameters, discount code, etc.).
Example POST to /checkouts
{
  "line_items": [
    {
      "charge_interval_frequency": 5,
      "cutoff_day_of_month": None,
      "cutoff_day_of_week": None,
      "expire_after_specific_number_of_charges": None,
      "fulfillment_service": "manual",
      "order_day_of_month": None,
      "order_day_of_week": None,
      "order_interval_frequency": 5,
      "order_interval_unit": "day",
      "product_id": <product_id>,
      "quantity": 6,
      "requires_shipping": True,
      "taxable": True,
      "variant_id": <variant_id>,
    }
  ],
}
2. Redirect customer to Recharge
Once you've created the checkout, you will receive a token in the response. Send the token in a redirect URI, which will take the customer back to Recharge and allow them to complete the transaction.
Example redirect URI
https://checkout.rechargeapps.com/r/checkout/<Token>
Updated 2 months ago